Welcome
Getting started with Zegami
Zegami turns a folder of images plus a metadata sheet into an explorable visual collection. This guide takes you from a fresh account to a working collection you can pan, filter, and share.
Last updated 2026-05-29
What Zegami is
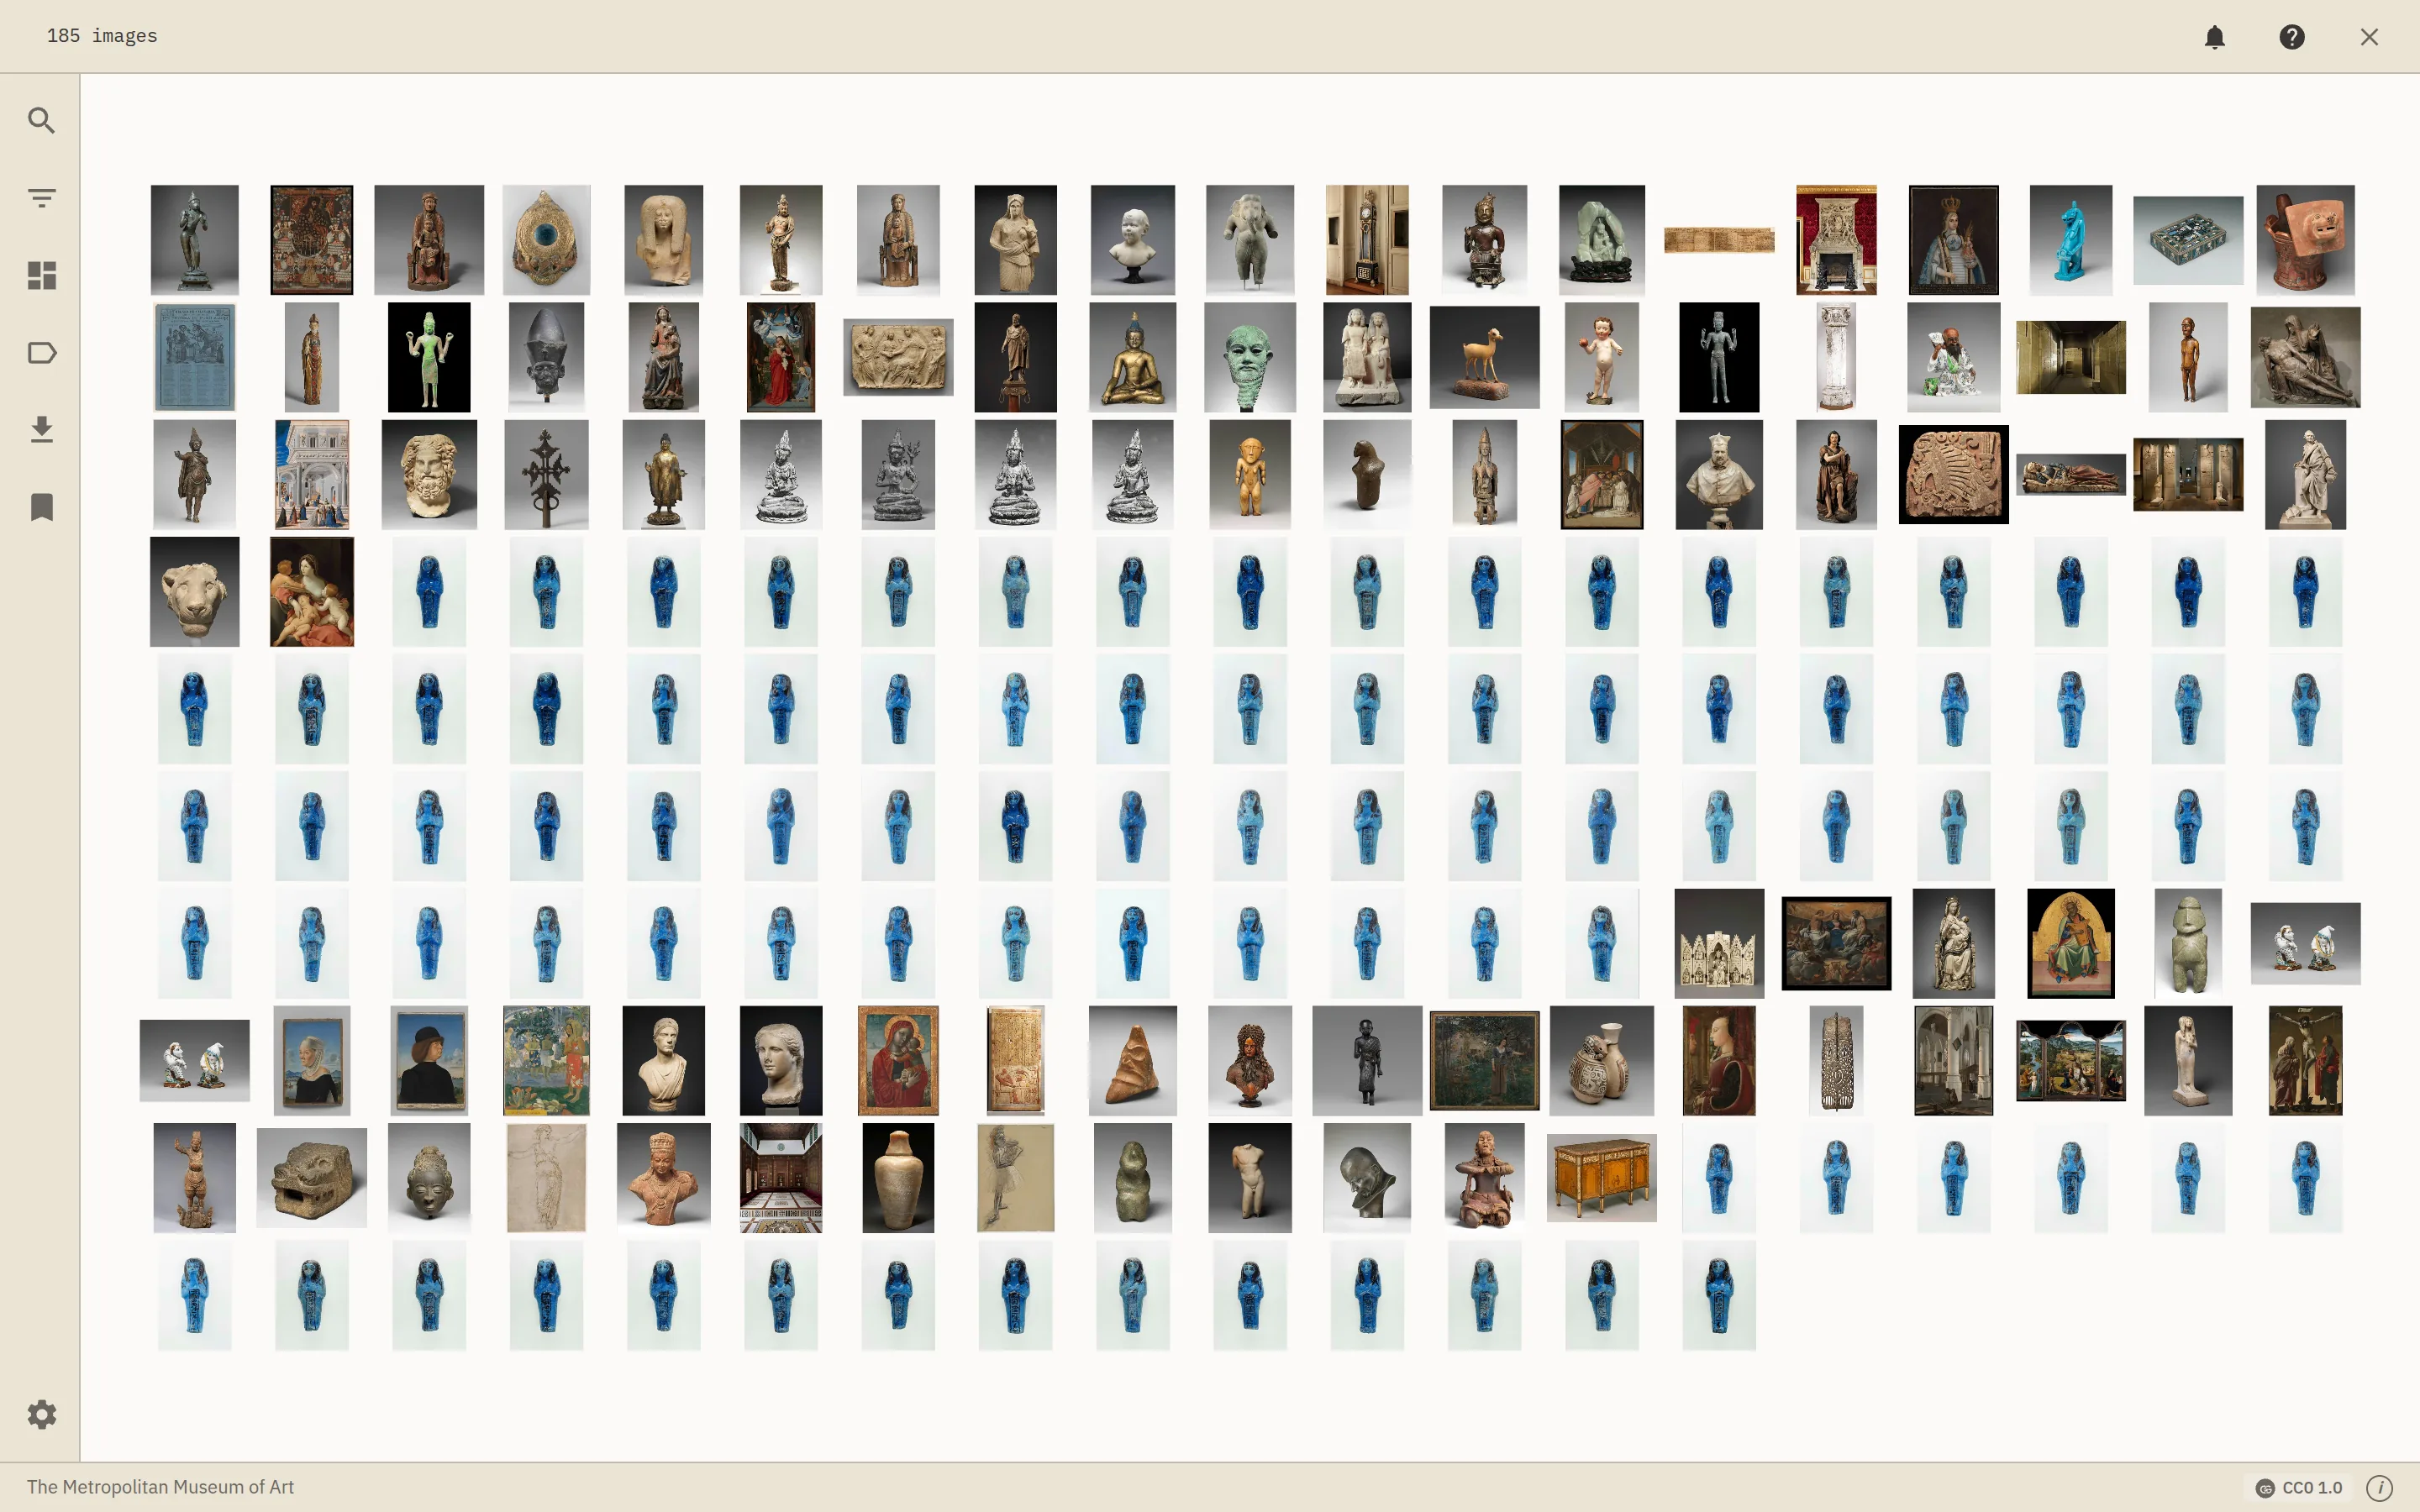
A collection is a set of images with a row of metadata behind each one. Zegami lays the images out as a zoomable grid and lets you filter, sort, colour, and cluster them by any column in the metadata — so patterns across thousands or millions of images become something you can see and click.
Sign in
Open app.zegami.com and sign in. New accounts land on the home dashboard, which lists the collections in your current workspace and a panel of public collections you can open for a feel of the viewer before uploading anything of your own.
Create a workspace
Every collection lives inside a workspace — the unit Zegami uses for ownership and sharing. Your account starts with a personal workspace; create more (one per team or project) from the workspace switcher in the top bar.
- Use the switcher dropdown to move between workspaces.
- Workspaces can sit under an organisation for centralized billing and membership — see Organisations.
- Invite colleagues and set their role from workspace settings — see Workspaces.
Build your first collection
- From the dashboard, click Create collection.
- Pick a source. The quickest start is direct upload: a
.zip(or a batch) of images plus a.csv/.tsvmetadata sheet. Zegami can also mirror an external catalogue (IIIF, the Met, NASA, DICOMweb, and more) — see Uploading collections for every source. - Map the metadata: the column that names each image file is the join key. Get this right and every row lines up with its picture.
- Submit. The processing pipeline generates thumbnails, an image atlas, and (optionally) similarity embeddings. A progress banner tracks each step; the collection opens automatically when it’s ready.
Open the viewer
Click any collection card to open the viewer. From here you can:
- Pan and zoom the grid to scan everything at a glance.
- Filter and search to narrow to the images you care about — see Filtering & search.
- Switch views between Grid, Table, Scatter, Graph, and Map — see Viewing collections.
- Click an image to open the Inspector with its metadata, tags, and annotation tools.
Where to go next
- Manage the images in a collection (add, replace, rotate, remove): Data tab.
- Configure processing, tags, hero image, and more: Collection settings.
- Make a collection public or share it: Sharing & publishing.
- Annotate images: Annotations.
- Automate via the API: Account & API keys.