Exploring data
Exporting data and images
Once you've filtered or selected the images you care about, the Export panel turns that set into a file you can take elsewhere — a spreadsheet, an image archive, a report, or standard annotations.
Last updated 2026-05-29
Open the Export panel from the left toolbar.
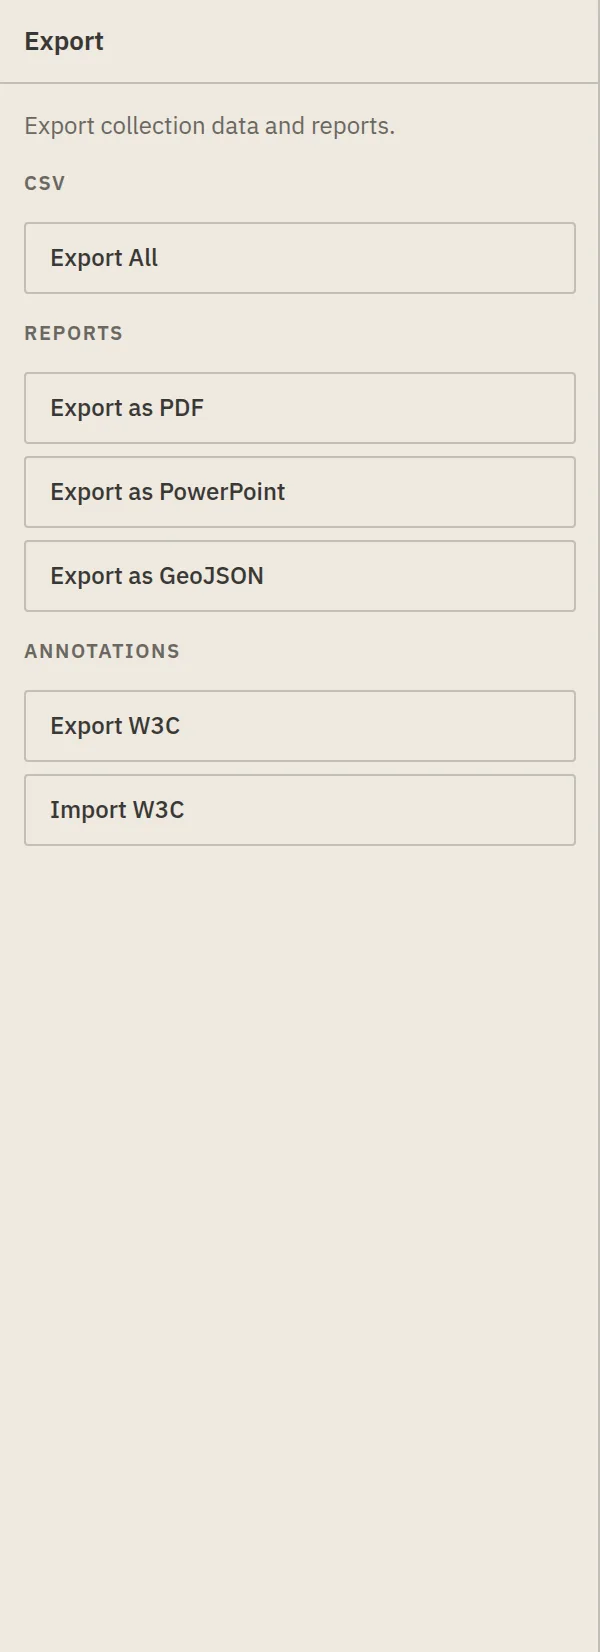
What you can export
- CSV / JSON metadata — the metadata rows as a spreadsheet or JSON. Respects the current column set.
- Image archive (ZIP) — the source images, bundled.
- PDF — a printable contact-sheet style report of the images and key metadata.
- W3C annotations — any annotations as standard W3C Web Annotations, ready to import elsewhere (see Annotations).
Whole collection vs. selection
Export acts on either the entire collection or just your current selection. To export a subset:
- Narrow with filters or search — see Filtering & search — and/or
- Select images directly (click, Ctrl/Cmd-click, Shift-click) and review them in the Selection panel.
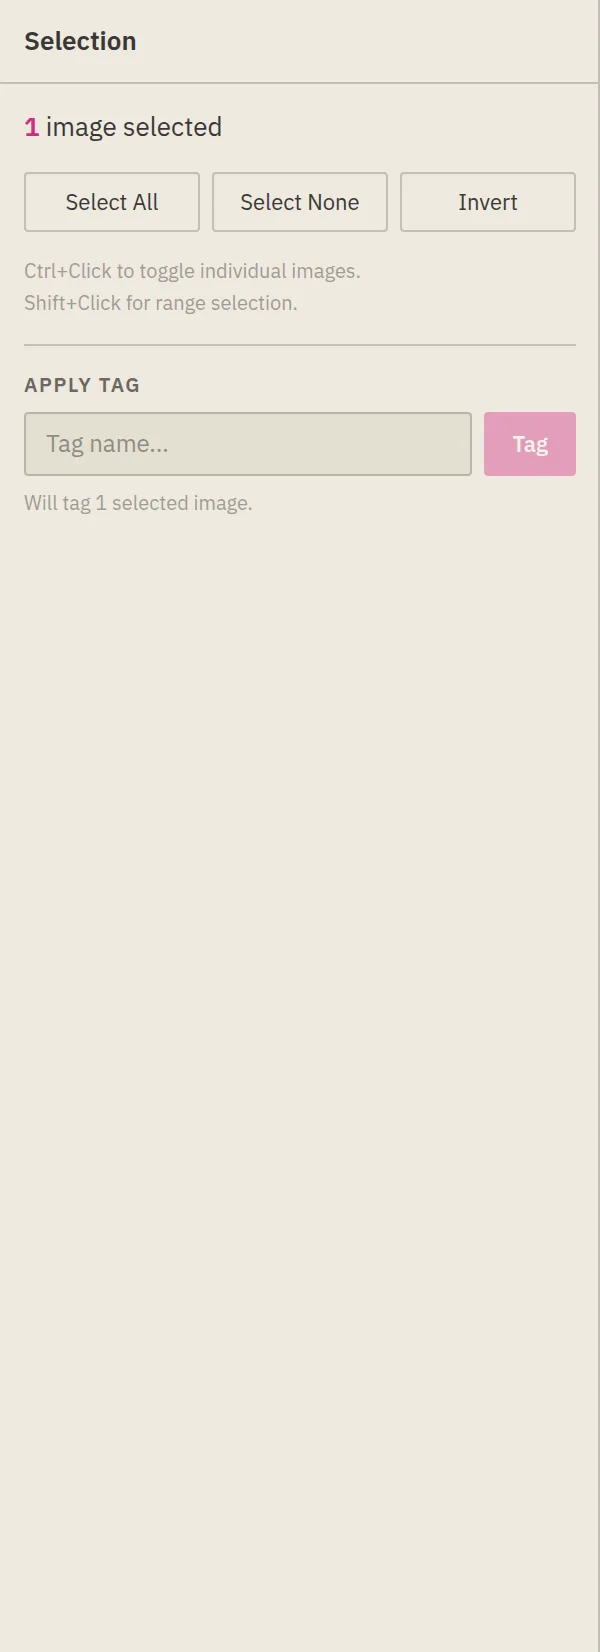
Then choose the “selection only” option in the Export panel. With nothing selected, export covers the whole (optionally filtered) collection.
Tips
- A filtered view exports the filtered rows — filtering first is the easy way to scope a large export.
- CSV/JSON round-trip with the Upload Metadata flow, so you can export, edit offline, and re-upload — see Data tab.